To troubleshoot a Willow Pump, ensure it is properly assembled and check for any obstructions in the tubing. Clean all parts thoroughly to maintain optimal performance.
Willow Pump troubleshooting can be straightforward with a systematic approach. Start by confirming that all components are correctly assembled. Misalignment or loose parts can cause malfunctions. Check the tubing for blockages or kinks that might disrupt the flow. Clean all parts regularly to prevent buildup that can impede performance.
Ensuring a tight seal is crucial for effective suction. If the pump still doesn’t work, consult the user manual for specific error codes or contact customer support. Regular maintenance and careful handling will extend the life of your Willow Pump and ensure it functions efficiently.
Common Issues
Troubleshooting your Willow Pump can save time and stress. Below are some common issues and their solutions.
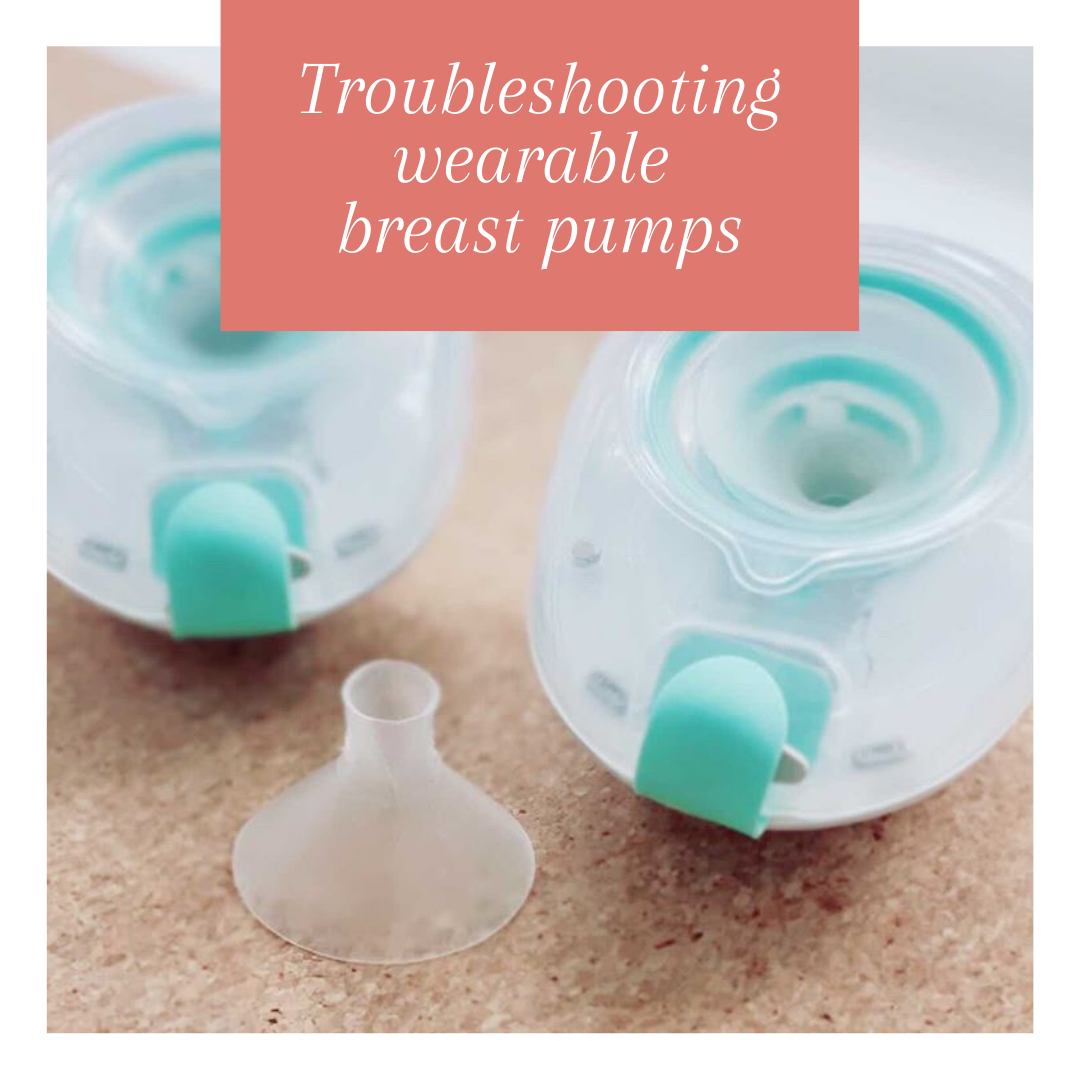
Leaks
Leaks are a frequent problem with Willow Pumps. Check for any visible cracks or worn-out seals. Replace damaged parts immediately.
- Inspect the pump body for cracks.
- Check seals and replace if worn out.
- Tighten all connections properly.
Noisy Operation
A noisy pump can indicate various issues. Noise often means something is not right. Follow these steps to identify the problem:
- Check for loose parts.
- Ensure the pump is properly aligned.
- Inspect for debris inside the pump.
Low Pressure
Low pressure can affect the pump’s efficiency. It’s crucial to identify the cause. Here’s a quick guide to troubleshoot low pressure:
| Possible Cause | Solution |
|---|---|
| Clogged filter | Clean or replace the filter. |
| Air leaks | Check and seal all air leaks. |
| Worn-out parts | Replace the worn-out parts. |

Credit: m.youtube.com
Initial Checks
When troubleshooting your Willow Pump, start with the initial checks. These are basic steps that can often resolve many common issues. Below are some key areas to focus on during your initial inspection.
Power Supply
First, ensure that your Willow Pump is connected to a reliable power source. Check the following:
- Verify that the power cord is securely plugged into the outlet.
- Ensure the outlet is functioning by plugging in another device.
- Inspect the power adapter for any visible damage.
If the pump is not turning on, try using a different power outlet or adapter.
Connections
Next, examine all the connections related to the Willow Pump. This includes:
- Ensuring the tubing is correctly attached to both the pump and the container.
- Checking for any blockages or kinks in the tubing.
- Verifying that the valves are in the correct position.
A secure and correct connection can prevent many operational issues.
Settings
Finally, review the settings on your Willow Pump. Common settings to check include:
- Ensure the mode is set correctly for your needs.
- Adjust the speed and pressure settings if necessary.
- Reset the pump to its default settings to clear any errors.
Proper settings ensure optimal performance of your Willow Pump.
By following these initial checks, you can often resolve many common Willow Pump issues. If problems persist, consider consulting the user manual or contacting customer support.
Maintenance Routine
Keeping your Willow Pump in good shape ensures it works well. Follow this simple maintenance routine to keep it running smoothly.
Cleaning
Regular cleaning prevents blockages and keeps the pump efficient. Follow these steps:
- Disassemble the pump carefully.
- Rinse all parts with warm water.
- Use a mild soap to clean each part.
- Rinse off soap with clean water.
- Dry all parts completely before reassembling.
Lubrication
Lubricating the moving parts reduces wear and tear. Follow these steps:
- Identify the moving parts of the pump.
- Use a recommended lubricant.
- Apply a small amount of lubricant to each moving part.
- Wipe away any excess lubricant.
- Reassemble the pump after lubrication.
Part Replacement
Replacing worn-out parts keeps your pump running well. Follow these steps:
- Identify the worn-out part.
- Purchase a replacement part from an authorized dealer.
- Disassemble the pump to access the worn part.
- Remove the worn part carefully.
- Install the new part and reassemble the pump.
Advanced Diagnostics
Advanced diagnostics can help you fix issues with your Willow Pump. Understanding the system’s inner workings can save you time and stress. This guide will walk you through advanced diagnostic steps for your Willow Pump.
System Analysis
Start with a comprehensive system analysis. Check all connections and ensure they are secure. Look for any visible damage or wear and tear. Use a multimeter to measure the voltage across different parts. This can help identify electrical issues.
Document your findings in a table for easy reference:
| Component | Status | Notes |
|---|---|---|
| Power Supply | Good | Voltage: 12V |
| Motor | Check | Possible wear |
| Pipes | Good | No leaks |
Error Codes
Willow Pumps often display error codes. These codes can pinpoint the problem. Refer to the user manual for code meanings. Common error codes include:
- E1: Low Battery
- E2: Motor Overload
- E3: Blocked Tubing
Reset the pump after noting the error code. If the problem persists, consult a technician.
Performance Testing
Conduct performance testing to ensure your pump runs efficiently. Measure the output flow rate. Compare this to the manufacturer’s specifications. Use a stopwatch and a measuring cup for accuracy.
Follow these steps for performance testing:
- Fill the reservoir with water.
- Turn on the pump.
- Measure the amount of water pumped in 1 minute.
If the flow rate is below the expected range, check for blockages or worn parts. Replace any faulty components to restore optimal performance.
Diy Fixes
If your Willow Pump isn’t working, you can try these DIY fixes. These steps can help you save time and money. Learn how to fix common issues with your pump.
Seal Replacement
A worn-out seal can cause leaks and poor performance. To replace the seal, you need a new seal kit.
- Turn off the pump and unplug it.
- Remove the old seal carefully.
- Clean the area around the seal.
- Install the new seal from the kit.
- Plug in the pump and test it.
Ensure the new seal fits tightly. A loose seal can lead to leaks.
Motor Adjustment
The motor needs regular adjustments for smooth operation. An improperly adjusted motor can cause noise and reduced efficiency.
- Turn off and unplug the pump.
- Locate the motor adjustment screws.
- Use a screwdriver to adjust the screws.
- Tighten or loosen until the motor runs smoothly.
- Plug in and test the pump.
Adjusting the motor can improve the pump’s performance.
Filter Cleaning
A clogged filter can reduce the pump’s efficiency. Clean the filter regularly for optimal performance.
| Step | Action |
|---|---|
| 1 | Turn off and unplug the pump. |
| 2 | Remove the filter cover. |
| 3 | Take out the filter. |
| 4 | Rinse the filter under running water. |
| 5 | Reinstall the filter and cover. |
| 6 | Plug in and test the pump. |
Clean filters ensure the pump works efficiently.
Credit: www.beaugen.com
When To Call A Professional
Sometimes, a Willow Pump might not work right. You can fix some problems yourself. But sometimes, it’s best to call a professional. Here are some reasons why you might need expert help.
Complex Repairs
Some repairs are too complicated for the average person. If the pump makes strange noises or stops working, it may need a professional’s touch. Trying to fix it yourself might make things worse. A professional has the right tools and knowledge.
Warranty Issues
Your Willow Pump might still be under warranty. Trying to fix it yourself could void the warranty. Always check the warranty terms before attempting any repairs. If you’re unsure, call a professional. They can repair it without voiding the warranty.
Safety Concerns
Working with electrical devices can be dangerous. If you aren’t trained, you could get hurt. Professionals know how to handle these risks. They follow safety protocols to keep everyone safe. It’s best to leave such tasks to them.
| Reason | Description |
|---|---|
| Complex Repairs | Some issues need a professional’s expertise. |
| Warranty Issues | DIY repairs could void your warranty. |
| Safety Concerns | Professionals handle electrical risks better. |
- Strange noises from the pump
- Pump stops working
- Voiding warranty with DIY fixes
- Risk of electrical hazards
- Identify the issue
- Check warranty terms
- Call a professional for complex issues
- Ensure safety by avoiding DIY electrical repairs
Prolonging Pump Life
Keeping your Willow Pump in good condition ensures a long-lasting device. Follow these simple steps to extend its life.
Proper Usage
Always follow the manufacturer’s instructions for using the Willow Pump. Incorrect usage can cause damage.
- Charge the pump regularly to maintain battery health.
- Clean the pump parts after each use to avoid build-up.
- Store the pump in a cool, dry place.
Regular Inspections
Check the pump parts regularly for any signs of wear or damage.
| Part | Inspection Frequency |
|---|---|
| Flanges | Weekly |
| Valves | Monthly |
| Battery | Every 3 Months |
Upgrades
Upgrade your Willow Pump with new features as they become available.
- Software updates can improve pump performance.
- New accessories can make pumping easier and more comfortable.
Credit: www.genuinelactation.com
Tools And Resources
Troubleshooting your Willow Pump can be simple with the right tools and resources. This guide will help you find the essential tools, reference guides, and support channels you need.
Essential Tools
Having the right tools can make troubleshooting much easier. Here are some must-have items:
- Screwdriver Set: Useful for opening and closing the pump.
- Multimeter: Helps to check the electrical components.
- Cleaning Kit: Keeps the pump parts clean.
- Replacement Parts: Essential for swapping damaged components.
Reference Guides
Reference guides are key for understanding how to troubleshoot your Willow Pump. Below are some valuable resources:
- User Manual: Offers step-by-step instructions.
- Online Tutorials: Video guides can be more intuitive.
- FAQs: Answers to common questions about the pump.
Support Channels
If you need more help, there are various support channels available:
- Customer Support: Call or email for expert help.
- Live Chat: Instant answers to your questions.
- Community Forums: Engage with other users for tips and advice.
Frequently Asked Questions
Why Isn’t My Willow Pump Working?
Your Willow pump might not work due to battery issues, improper assembly, or clogged parts. Ensure proper alignment and charge.
Is There A Way To Reset A Willow Pump?
Yes, you can reset a Willow pump. Turn it off, then hold the power button for 10 seconds.
Why Does My Willow Pump Say It’s Full When It’s Not?
The Willow pump might indicate it’s full due to a sensor error. Ensure proper alignment and clean sensors regularly.
Why Is One Side Of My Pump Not Working?
One side of your pump may not work due to a blockage, motor failure, or electrical issue. Check for obstructions, inspect wiring, and ensure the motor functions properly. Regular maintenance can prevent these problems.
Conclusion
Troubleshooting your Willow Pump can be simple with the right steps. Regular maintenance ensures optimal performance. Refer to the manual for specific issues. Proper care extends the pump’s lifespan. Always consult customer support for persistent problems. Keep your pump in top shape for a stress-free experience.