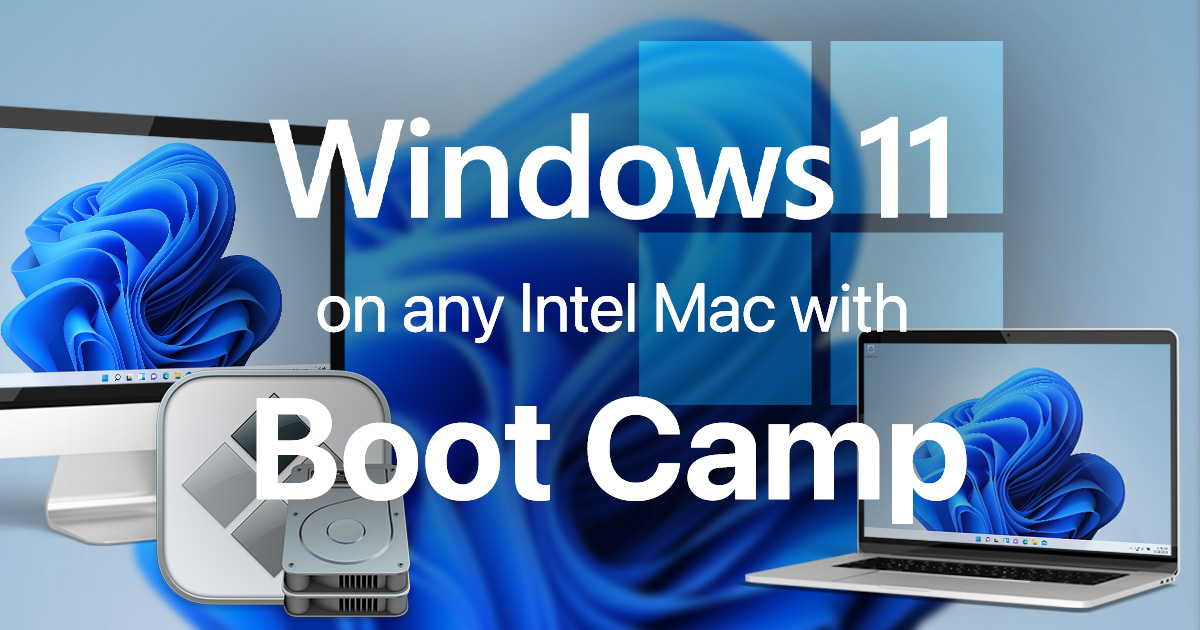
To upgrade to Windows 11 on a Mac using Boot Camp, you need to ensure that your Mac meets the system requirements for the new OS. Once confirmed, you can use Boot Camp Assistant to install Windows 11 on your Mac.
For Mac users who want to experience Windows 11 on their devices, using Boot Camp is a viable option. However, before proceeding with the upgrade, it’s important to check if your Mac meets the necessary system requirements for Windows 11.
Boot Camp Assistant, a built-in utility on macOS, can guide you through the process of installing Windows on your Mac. This article will provide a step-by-step guide to help you smoothly transition to Windows 11 using Boot Camp on your Mac.
Why Upgrade?
When considering an upgrade to Windows 11 on your Mac using Boot Camp, it’s important to understand the benefits it can offer. The enhanced features and improved performance of Windows 11 can provide a seamless and efficient experience on your Mac, allowing you to optimize your productivity and access a wider range of software and applications.
Benefits Of Windows 11
Windows 11 brings a host of new features and enhancements that make it an attractive option for Mac users looking to expand their computing capabilities. From the sleek and modern user interface to the improved multitasking capabilities, Windows 11 offers a fresh and engaging experience that can greatly enhance your Mac usage.
Enhanced Performance On Mac
One of the primary advantages of upgrading to Windows 11 on a Mac using Boot Camp is the enhanced performance it offers. With improved compatibility and optimization, Windows 11 can take full advantage of your Mac’s hardware, delivering smoother operation and better resource management.
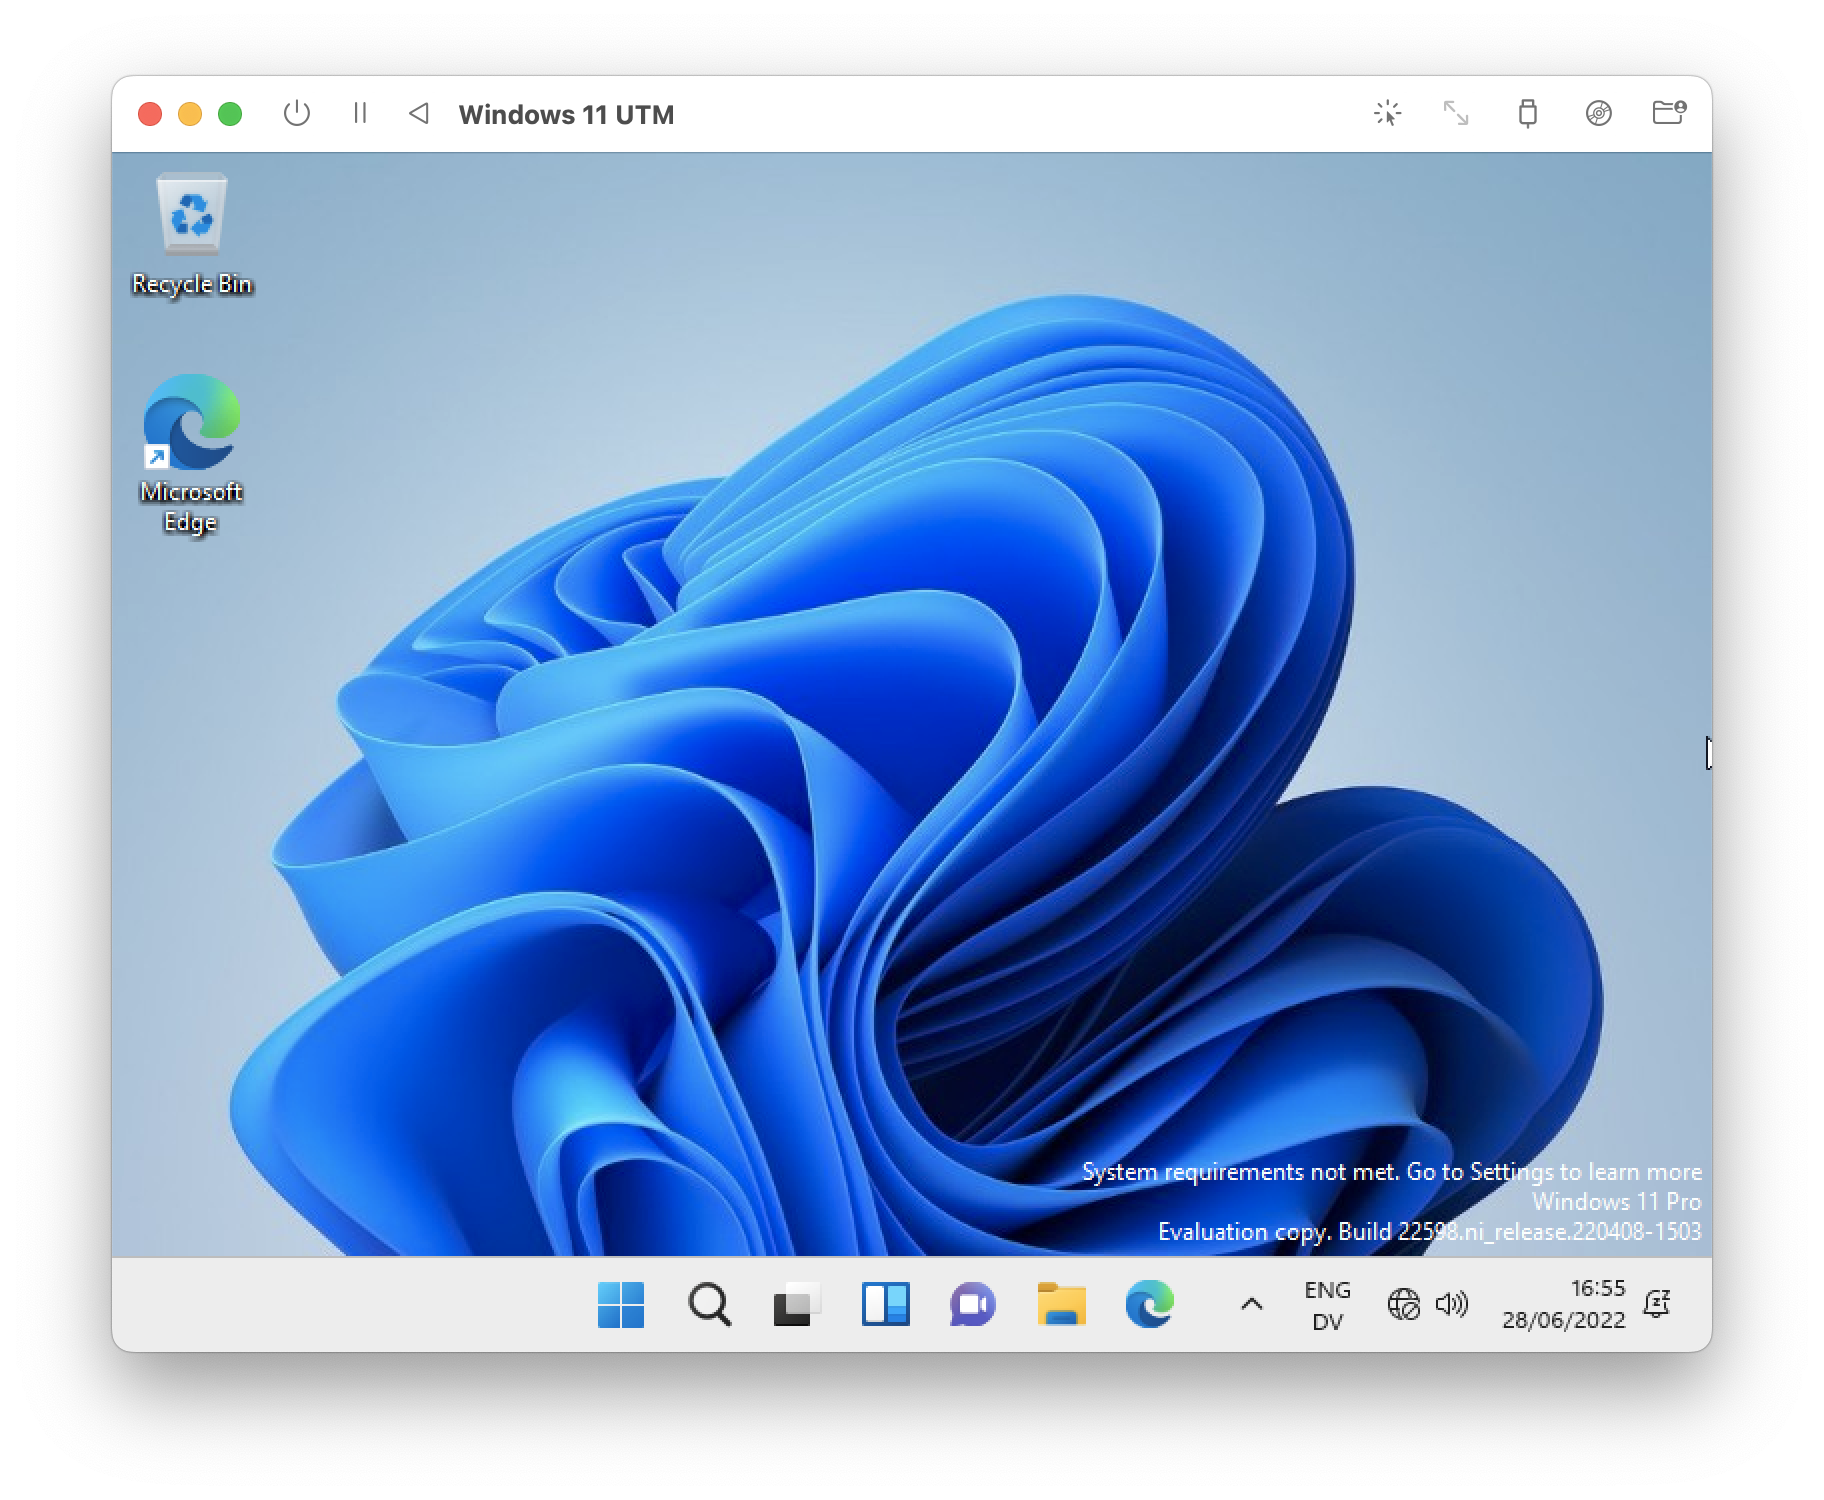
Credit: studioncreations.com
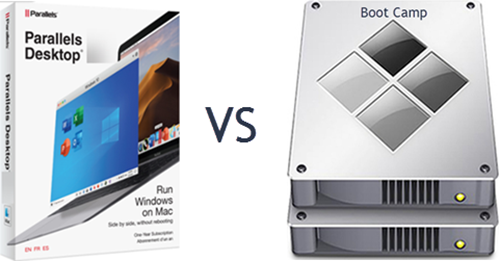
What Is Boot Camp?
Boot Camp is a utility for Mac users that enables them to upgrade to Windows 11. It allows seamless installation and usage of Windows operating system alongside macOS on a single device. Experience the best of both worlds with Boot Camp on your Mac.
What is Boot Camp? Boot Camp is a utility that comes with macOS, enabling users to install and run Windows operating system on a Mac device. With Boot Camp, Mac owners can run Windows applications alongside their macOS applications without the need for any third-party virtualization software. H3 headings in HTML syntax:Introduction To Boot Camp
Boot Camp is a built-in utility on Mac computers that allows users to install and run the Windows operating system on their Mac devices. It provides a seamless way to switch between macOS and Windows, offering flexibility and accessibility to a wider range of software and applications.How Boot Camp Works
Boot Camp works by creating a separate partition on the Mac’s hard drive, specifically formatted for Windows. This allows users to have a dedicated space for the Windows operating system, enabling it to run natively on the Mac hardware. By holding down the option key during startup, users can choose between booting up in macOS or Windows, providing a convenient and fluid user experience. In summary, Boot Camp is a valuable tool for Mac users who need access to Windows applications, providing a seamless way to run both operating systems on a single device.Requirements
Upgrade to Windows 11 on your Mac using Boot Camp meets specific requirements, such as having a compatible Mac model and ample storage space. Ensure your Mac meets the minimum system requirements, including a supported Intel or M1 chip, to smoothly transition to Windows 11.
Before you can upgrade to Windows 11 on your Mac using Boot Camp, there are certain requirements that you need to meet. These requirements can be categorized into hardware requirements and software requirements.
Hardware Requirements
To successfully install Windows 11 on your Mac using Boot Camp, make sure your Mac meets the following hardware requirements:
- A Mac model released in 2012 or later
- At least 64GB of free storage space on your Mac’s internal drive
- Minimum 4GB of RAM (8GB or more is recommended for better performance)
- An Intel processor based on 64-bit architecture
| Mac Model | Processor | RAM | Storage Space |
|---|---|---|---|
| MacBook Air (2012 or later) | Intel Core i5 or i7 | 4GB or more | 64GB or more |
| MacBook Pro (2012 or later) | Intel Core i5, i7, or i9 | 4GB or more | 128GB or more |
| iMac (2012 or later) | Intel Core i5, i7, i9, or Xeon | 4GB or more | 128GB or more |
Software Requirements
In addition to the hardware requirements, you also need to ensure your Mac meets the following software requirements:
- The latest version of macOS installed on your Mac
- Boot Camp Assistant, which is pre-installed on Macs
- A genuine copy of Windows 11 ISO file
Once you have confirmed that your Mac meets all the hardware and software requirements mentioned above, you are ready to proceed with the upgrade to Windows 11 using Boot Camp.
Credit: www.intego.com
Installation Process
Upgrading to Windows 11 on your Mac using Boot Camp is a straightforward process that allows you to experience the latest features and enhancements. In this section, we will guide you through each step, from preparing your Mac to the actual installation of Windows 11.
Preparing Your Mac
Before jumping into the installation process, there are a few things you need to do to ensure a smooth transition. Follow these steps to prepare your Mac:
- Check Compatibility: Confirm that your Mac meets the minimum system requirements for Windows 11. Check the official Microsoft website for the detailed specifications.
- Back up your files: It’s always a good practice to back up your important files and data before making any changes to your system. Create a backup of your Mac using Time Machine or any other preferred backup method.
- Free up disk space: Make sure your Mac has enough available disk space to accommodate the Windows 11 installation. Clear out any unnecessary files or applications that are taking up space.
Downloading Windows 11 Iso
Once you have prepared your Mac, the next step is to download the Windows 11 ISO file. Follow these simple steps:
- Visit the official Microsoft website: Go to the official Microsoft website and navigate to the Windows 11 download page.
- Select Windows 11 edition: Choose the edition of Windows 11 you want to install on your Mac. There are different versions available, so select the one that suits your needs.
- Download the ISO file: Click on the download button to start downloading the Windows 11 ISO file. It may take some time depending on your internet connection speed.
Creating A Bootable Usb
Now that you have downloaded the Windows 11 ISO file, it’s time to create a bootable USB drive. Follow these steps:
- Insert a USB drive: Connect a USB drive with sufficient storage capacity to your Mac.
- Format the USB drive: Open Disk Utility and format the USB drive using the FAT or ExFAT file system.
- Create the bootable USB: Use a reliable tool like Rufus or UNetbootin to create a bootable USB drive from the Windows 11 ISO file. Follow the on-screen instructions provided by the tool.
Installing Windows 11
With the bootable USB drive ready, you are now ready to install Windows 11 on your Mac. Follow these steps:
- Restart your Mac: Restart your Mac and hold down the Option (⌥) key during startup to access the boot menu.
- Select the bootable USB: From the boot menu, select the bootable USB drive that you created in the previous step.
- Install Windows 11: Follow the on-screen instructions to install Windows 11. Select the appropriate installation options and partition for Windows.
- Complete the setup: Once the installation is complete, follow the remaining setup steps to finalize the installation of Windows 11 on your Mac.
Congratulations! You have successfully upgraded to Windows 11 on your Mac using Boot Camp. Enjoy the new features and improved performance that Windows 11 has to offer!
Tips And Troubleshooting
Upgrading to Windows 11 on your Mac using Boot Camp can be a great way to enjoy the best of both worlds – the power of Windows 11 and the familiar macOS environment. However, like any software installation, there may be some challenges along the way. In this section, we will explore some tips to optimize Boot Camp performance and address common issues that you may encounter during the upgrade process.
Optimizing Boot Camp Performance
If you want to ensure a smooth and seamless experience when running Windows 11 on your Mac through Boot Camp, here are a few tips to optimize its performance:
- Ensure your Mac meets the minimum system requirements for Windows 11. This includes having a compatible processor, sufficient RAM, and available storage space.
- Keep your Mac’s operating system and Boot Camp drivers up to date. Regular updates can improve performance and compatibility with Windows 11.
- Allocate an appropriate amount of resources to your Windows 11 installation. You can adjust the allocation of RAM and processor cores through Boot Camp Assistant.
- Optimize your virtual machine settings. Adjusting settings such as video memory and graphics acceleration can help improve performance.
- Install the latest updates and drivers for Windows 11. These updates often include bug fixes and performance improvements.
Common Issues And Solutions
During the upgrade process, you may encounter common issues. Here are some potential problems and their solutions:
| Issue | Solution |
|---|---|
| Boot Camp Assistant displays an error message. | Restart your Mac and try running Boot Camp Assistant again. If the issue persists, make sure your macOS is up to date and try disabling any third-party security software temporarily. |
| Windows 11 installation gets stuck or freezes. | Restart your Mac and try the installation process again. If the issue persists, ensure you have a stable internet connection and sufficient storage space. You can also try reinstalling Boot Camp drivers before proceeding with the installation. |
| Drivers for specific hardware components are missing. | Download and install the latest Boot Camp drivers from the official Apple support website. These drivers are essential for proper hardware functionality. |
| Windows 11 is not recognizing all your Mac’s hardware. | Check for any available updates for Boot Camp drivers and install them. If the problem persists, contact Apple support for further assistance. |
By following these tips and troubleshooting common issues, you can ensure a successful upgrade to Windows 11 on your Mac using Boot Camp. Enjoy the new features and functionalities of Windows 11 while still being able to switch back to macOS whenever you need to!
Credit: www.winxponmac.com
Frequently Asked Questions On Upgrade To Windows 11 On Mac Using Boot Camp
How To Install Windows 11 On Mac Using Boot Camp?
To install Windows 11 on your Mac using Boot Camp, you need to follow these steps:
1. Check system requirements for Windows 11 compatibility. 2. Download the Windows 11 ISO file from Microsoft’s website. 3. Open Boot Camp Assistant on your Mac. 4. Create a Windows partition on your Mac’s hard drive. 5. Install Windows 11 using the Boot Camp Assistant.
Can I Run Windows 11 On My Mac Without Boot Camp?
No, you cannot run Windows 11 on your Mac without Boot Camp. Boot Camp is the only official method provided by Apple to run Windows on Mac. It allows you to dual-boot your Mac with both macOS and Windows operating systems.
This ensures optimal performance and compatibility between the two systems.
Is Windows 11 Compatible With All Mac Models?
No, not all Mac models are compatible with Windows 11. To run Windows 11 on your Mac, it must meet certain system requirements, including having an Intel-based processor and a minimum of 64GB of storage. You can check Apple’s official website for a list of supported Mac models for Boot Camp and Windows 11 compatibility.
Conclusion
Upgrading to Windows 11 on your Mac using Boot Camp is a straightforward process that allows you to enjoy the latest features and improvements. By following the steps outlined in this guide, you can seamlessly switch between macOS and Windows 11, creating a versatile and efficient computing experience.
Embrace the power and compatibility offered by Windows 11 while still benefiting from the sleek design and functionality of your Mac. Upgrade today and unleash the full potential of your device.