If Spotify Overlay isn’t working on Windows 11, check for any pending app updates. If there are updates, install them to see if it resolves the issue.
Are you experiencing issues with Spotify Overlay on Windows 11? Many users encounter this problem due to outdated app versions or system compatibility issues. In this guide, we’ll discuss some troubleshooting steps to help you fix the problem and get your Spotify Overlay working seamlessly on your Windows 11 system.
By following these steps, you can ensure that you don’t miss out on the convenience and functionality of Spotify Overlay while enjoying your favorite music or podcasts. Let’s dive into some effective solutions to get your Spotify Overlay up and running smoothly on Windows 11.

Credit: www.pcmag.com
Common Issues With Spotify Overlay
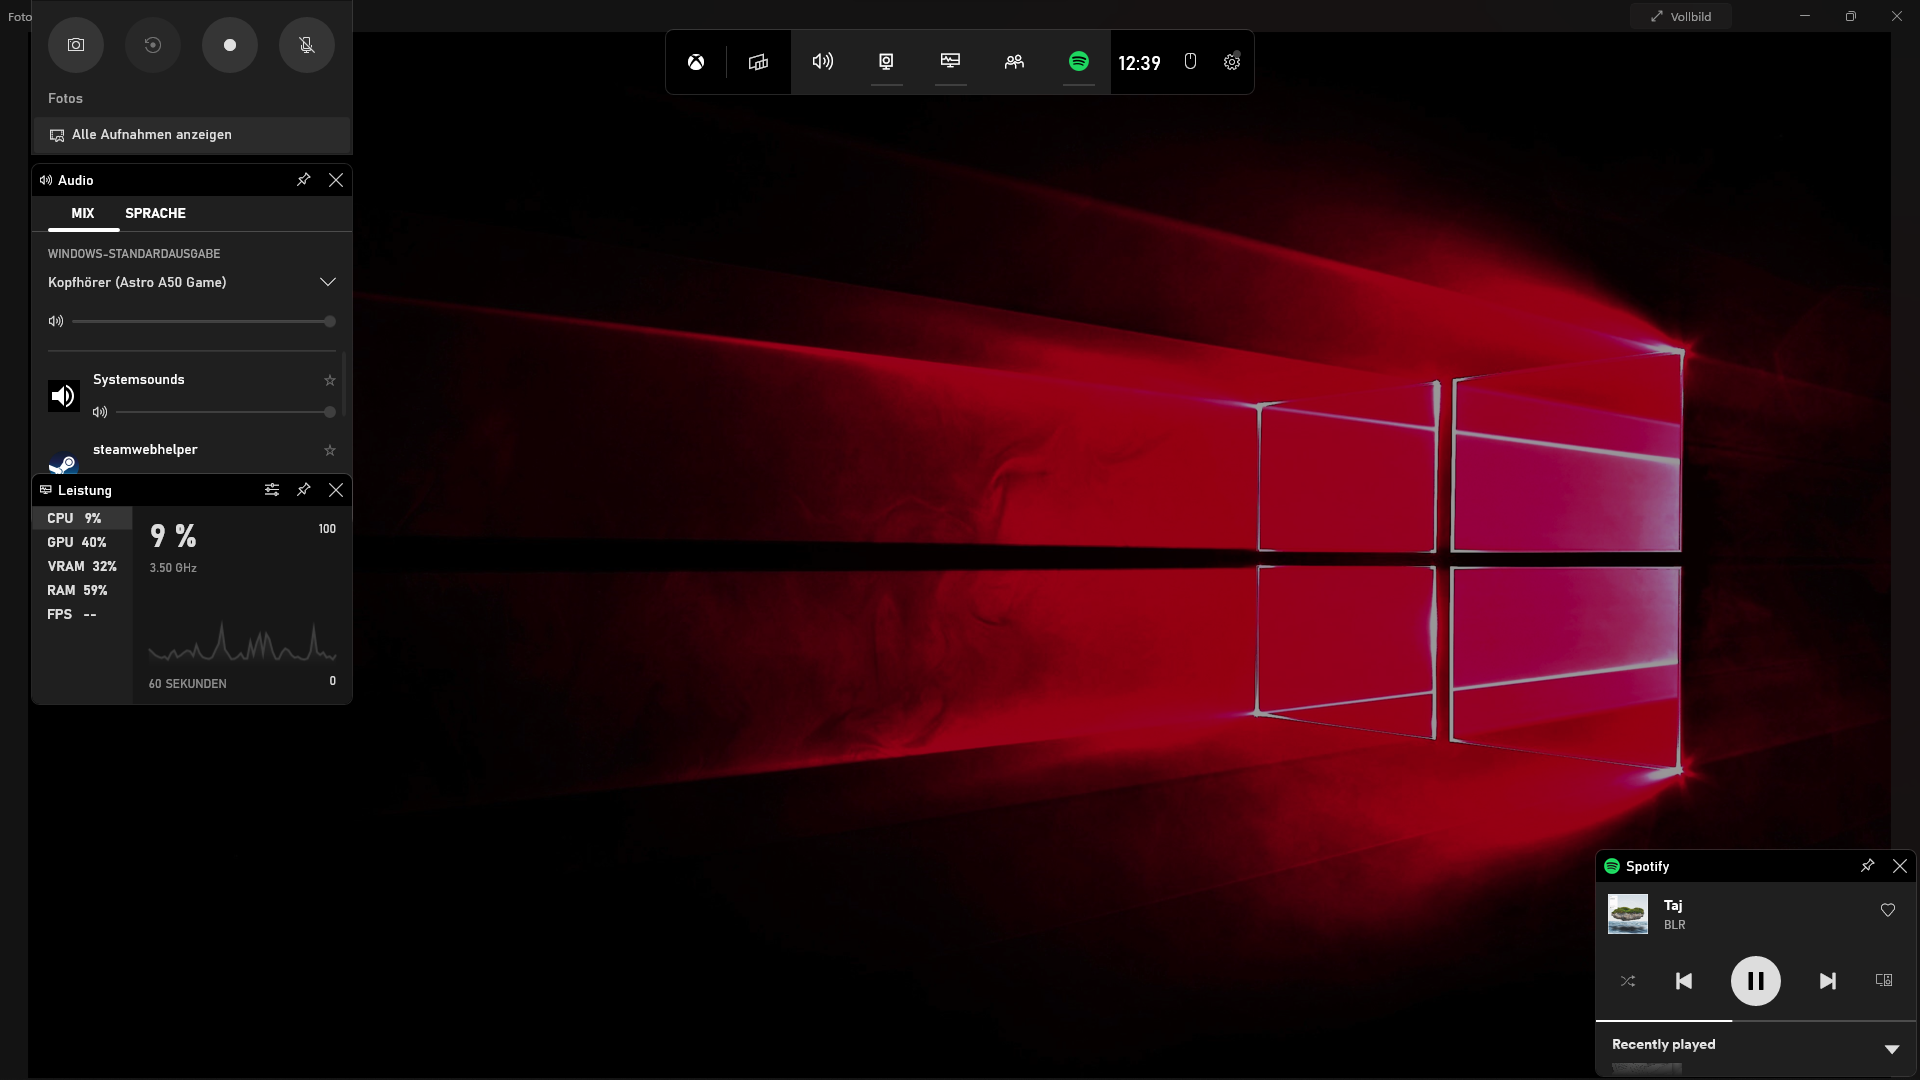
Spotify Overlay Not Appearing
If you are experiencing the issue of Spotify Overlay not appearing on your Windows 11 device, several factors may be causing this problem. Ensure that the Spotify desktop app is running in the background and that the Overlay feature is enabled in the settings. Additionally, check for any pending software updates that may resolve this issue.
Spotify Overlay Freezing Or Lagging
When you encounter Spotify Overlay freezing or lagging on your Windows 11 system, it can disrupt your music listening experience. This issue may stem from insufficient system resources or conflicts with other applications running concurrently. Close unnecessary programs and consider updating your system drivers to enhance the performance of the Spotify Overlay feature.

Credit: www.amazon.com
Checking System Requirements
Before using Spotify’s overlay feature on Windows 11, it is crucial to ensure that your system meets the necessary criteria for compatibility and has adequate resources to support this function. This section will guide you through the steps to verify the compatibility of Windows 11 and check that your system has adequate resources.
Verifying Windows 11 Compatibility
First and foremost, confirm that your operating system is Windows 11-compatible. Follow the steps below to check:
- Click on the Start icon in the taskbar and select “Settings”.
- Navigate to the “System” section and click on “About”.
- Scroll down to the “Windows specifications” section and locate the “Windows version”.
- Ensure that the Windows version displayed is 11 or higher. If it is a lower version, you will need to upgrade to Windows 11 to use Spotify’s overlay feature.
Ensuring Adequate System Resources
In addition to verifying the compatibility of your operating system, it is important to ensure that your system meets the minimum requirements for Spotify’s overlay feature to function effectively. Consider the following aspects:
Available RAM
The amount of Random Access Memory (RAM) in your system plays a vital role in determining its overall performance. Ideally, you should have a minimum of 4GB of RAM for Spotify’s overlay to work smoothly. To check your system’s RAM:
- Open the Start menu and search for “Task Manager”.
- Click on “Task Manager” from the search results.
- In the Task Manager window, navigate to the “Performance” tab.
- Look for the “Memory” section, which displays the total amount of RAM installed in your system. Ensure that it meets or exceeds the minimum requirement.
Available Disk Space
Inadequate disk space can hinder the performance of Spotify’s overlay feature. To verify that your system has enough available disk space:
- Open the File Explorer by clicking on the folder icon in the taskbar or pressing the Windows key + E.
- Select the disk where your operating system is installed, usually labeled as “C:”, by default.
- Right-click on the selected disk and choose “Properties”.
- In the General tab, you will find information about the capacity and available space on the disk. Ensure that there is sufficient free space to accommodate Spotify’s overlay feature.
By following these steps, you can easily check the compatibility of your Windows 11 operating system and ensure that your system has the necessary resources to support Spotify’s overlay feature. Once you have confirmed that your system meets the requirements, you can enjoy the seamless experience of using Spotify’s overlay on Windows 11.
Updating Spotify And Windows 11
If you’re encountering issues with Spotify Overlay not working on Windows 11, it’s crucial to ensure that both Spotify and your operating system are up to date. Outdated software versions can often lead to compatibility problems and performance issues. In this section, we’ll guide you through updating Spotify and Windows 11 to help resolve the Spotify Overlay not working problem.
Updating To The Latest Spotify Version
To begin, it’s essential to make sure that you are using the latest version of Spotify. Upgrading to the most recent release can often fix bugs and add new features. Here’s how you can update Spotify:
- Open the Spotify application on your Windows 11 PC.
- Click on the “Help” option in the top menu bar.
- Select “About Spotify” from the drop-down menu.
- A new window will open, displaying your current Spotify version number. If an update is available, you’ll see an option to “Download the latest version.”
- Click on “Download the latest version” and follow the on-screen instructions to install the update.
After successfully updating Spotify, it’s a good idea to restart your PC to ensure that any changes take effect. Once your PC has restarted, check if the Spotify Overlay is now working properly on Windows 11.
Installing Windows 11 Updates
In addition to updating Spotify, it’s crucial to keep your Windows 11 operating system up to date. Here’s how you can install the latest updates for Windows 11:
| Step | Description |
|---|---|
| 1 | On your Windows 11 PC, click on the “Start” button in the bottom left corner. |
| 2 | Click on the “Settings” icon, represented by a gear-shaped symbol. |
| 3 | In the Settings window, click on the “Windows Update” tab. |
| 4 | Click on the “Check for updates” button. |
| 5 | If any updates are available, Windows will automatically download and install them. |
| 6 | Restart your PC once the installation is complete. |
By regularly updating both Spotify and Windows 11, you ensure that you have the latest features and bug fixes, which can often resolve issues like the Spotify Overlay not working on Windows 11. If you have followed these steps and are still experiencing difficulties, you may want to reach out to Spotify support or check for additional troubleshooting steps.
Adjusting Settings And Permissions
To fix Spotify overlay not working on Windows 11, adjust the app settings and permissions. Double-check that the necessary permissions are enabled for the overlay feature to function properly. Ensure that the app is set to “Always On Top” and “Show Desktop Overlay” in the app settings to resolve the issue.
Adjusting Settings and Permissions When it comes to troubleshooting issues with the Spotify overlay not working on Windows 11, adjusting settings and granting necessary permissions can often resolve the problem. In this section, we will guide you through the steps to check overlay settings in Spotify and granting the necessary permissions in Windows 11.Checking Overlay Settings In Spotify
To begin with, let’s start by checking the overlay settings within the Spotify application itself. These settings control whether the overlay feature is activated or not, and if it is, how it interacts with other windows and applications on your computer. Here’s how you can do this:- Launch the Spotify desktop app on your Windows 11 PC.
- In the top menu, click on the “…” symbol and select “Settings” from the dropdown menu.
- Under the “Display Options” section, scroll down until you see the “Enable Player Overlay” option.
- Make sure the toggle switch next to it is turned on.
- Additionally, you may want to check the “Enable Hardware Acceleration” option, which can sometimes influence the overlay functionality.
Granting Necessary Permissions In Windows 11
Sometimes, the Spotify overlay may not function as expected due to permission issues in the Windows 11 operating system. To rectify this, it is essential to grant the necessary permissions to both Spotify and the games or applications you want to use the overlay with. To grant permissions in Windows 11, follow these simple steps:- Open the Windows Settings menu by clicking on the Start button and selecting the gear icon.
- From the settings menu, click on “Privacy & Security.”
- In the left sidebar, choose “App permissions.”
- Scroll down and click on “Overlay permissions.”
- Here, you will find a list of applications that can use the overlay feature. Locate Spotify from the list and ensure it is enabled by toggling the switch next to it.
Resolving Potential Conflicts
If you’re an avid user of Spotify and have recently upgraded to Windows 11, you may encounter a frustrating issue: the Spotify overlay not working. The overlay feature allows you to control and view Spotify while using other applications or playing games. However, various factors can potentially cause conflicts with this feature. In this article, we’ll explore some steps you can take to troubleshoot and resolve these conflicts.
Identifying And Removing Conflicting Applications
One possible reason why the Spotify overlay may not be working on your Windows 11 is due to conflicts with other applications. Certain programs can interfere with Spotify’s overlay functionality, preventing it from displaying properly. To identify and remove conflicting applications:
- Open the Task Manager by pressing
Ctrl + Shift + Escor right-clicking the taskbar and selecting “Task Manager”. - In the Task Manager, navigate to the “Processes” or “Details” tab.
- Look for any applications that could potentially conflict with Spotify or any unnecessary background processes.
- If you identify any conflicting applications, right-click on them and select “End task” or “End process”.
- Once you have closed the conflicting applications, relaunch Spotify and check if the overlay feature is now working.
Updating Or Reinstalling Graphics Drivers
Another common cause of conflicts with the Spotify overlay on Windows 11 is outdated or incorrect graphics drivers. To ensure the overlay feature functions properly, updating or reinstalling your graphics drivers can be a helpful solution:
- Press
Windows + Xon your keyboard to open the “Quick Access” menu. - Select “Device Manager” from the menu.
- Expand the “Display adapters” category.
- Right-click on your graphics card driver and choose “Update driver” or “Uninstall device” if you prefer to reinstall the driver.
- Follow the on-screen instructions to complete the driver update or reinstall.
- Once the process is finished, restart your computer and open Spotify to see if the overlay is working properly.
Resolving conflicts that affect the Spotify overlay feature on Windows 11 can sometimes be as simple as identifying and removing conflicting applications or updating/reinstalling graphics drivers. By following these steps, you can enjoy seamless control over your Spotify experience while multitasking or gaming.
Credit: community.spotify.com
Frequently Asked Questions On Spotify Overlay Not Working On Windows 11
How Do I Fix Spotify Overlay Not Working On Windows 11?
To fix the Spotify overlay not working on Windows 11, make sure you have the latest version of both Spotify and Windows 11 installed. Then, go to the Windows 11 settings, select “Gaming,” and enable the “Enable gaming features for this app” option for Spotify.
This should resolve the issue and allow the overlay to work properly.
Why Is My Spotify Overlay Not Showing On Windows 11?
If your Spotify overlay is not showing on Windows 11, it could be due to several reasons. First, check if you have enabled the overlay option in the Spotify settings. Additionally, make sure you have the appropriate permissions and settings enabled in the Windows 11 operating system.
Restarting both Spotify and your computer may also help resolve this issue.
Can I Customize The Spotify Overlay On Windows 11?
Yes, you can customize the Spotify overlay on Windows 11 to suit your preferences. In the Spotify settings, navigate to the “Display Options” section. Here, you can adjust the position, size, transparency, and toggle specific elements of the overlay, such as album art or track information.
Experiment with different settings until you find the perfect customization for your needs.
Conclusion
To wrap up, if you’re facing issues with the Spotify overlay on Windows 11, don’t panic. By following the troubleshooting steps mentioned in this blog post, you can resolve the problem and enjoy uninterrupted music while multitasking on your computer.
Remember to check for Windows updates, disable compatibility mode, and reinstall the Spotify app if necessary. With these simple solutions, you’ll be back to enjoying your favorite tunes with the Spotify overlay in no time.