To change image thumbnail size in Windows 10 or 11, right-click on the desktop and select “View,” then choose either “Large icons,” “Medium icons,” or “Small icons” to adjust the thumbnail size. This simple process allows you to easily customize the display of image thumbnails to your preferred size for easier access and viewing.
Windows 10 and 11 offer user-friendly options for quickly and conveniently resizing image thumbnails to suit your preferences. By following these steps, you can effortlessly personalize the thumbnail size to enhance your file browsing experience. Tailoring the thumbnail size to your liking can help streamline your workflow and improve the accessibility and visual appeal of your photo collection.

Credit: appsumo.com
Why Change Image Thumbnail Size?
Changing the image thumbnail size can have a significant impact on how you interact with your files and folders. By customizing the thumbnail size to your preference, you can enhance your visual experience and potentially improve the performance of your system. Let’s delve into the reasons behind changing the image thumbnail size in Windows 10 and 11.
Improving Performance
Optimizing the thumbnail size can positively impact the performance of your system. By setting appropriate thumbnail dimensions, you can reduce the load on system resources as well as improve the speed at which your files are displayed. This can result in smoother navigation and faster access to your images and folders.
Enhancing Visual Experience
Customizing thumbnail sizes can significantly enhance your visual experience. By tailoring the thumbnail dimensions, you can make it easier to identify images and understand the contents of your folders. This enhanced visual experience can improve productivity and make navigating through your files more enjoyable.
Methods To Change Image Thumbnail Size
In Windows 10 and 11, you can easily change the size of image thumbnails using various methods. Whether you prefer a larger, more detailed view or a smaller, space-saving view, there are options available to customize the thumbnail size to your preference. Below, we’ll explore two methods for changing image thumbnail size in Windows 10 and 11.
Using Windows File Explorer
If you prefer using built-in tools, Windows File Explorer provides a straightforward way to customize image thumbnail size. Follow these steps:
- Open File Explorer and navigate to the folder containing the images.
- Click on the “View” tab at the top of the window.
- Then, click on the “Options” button on the right-hand side of the toolbar.
- In the “Folder Options” window, select the “View” tab.
- Under the “Advanced settings” section, locate and adjust the “Icon size” slider to change the thumbnail size. You can drag the slider to the left for smaller thumbnails or to the right for larger thumbnails.
- Once you’ve set the desired thumbnail size, click “Apply” and then “OK” to save the changes.
Using Third-party Software
For more advanced customization options, third-party software can be utilized to change image thumbnail size in Windows 10 and 11. Some popular software options include:
- IrfanView: This versatile image viewing and editing software allows users to adjust thumbnail size and other display settings.
- FastStone Image Viewer: With a user-friendly interface, this software offers comprehensive tools for managing and customizing image thumbnails.
By using the above methods, you can easily alter the image thumbnail size in Windows 10 and 11, allowing for a more personalized and efficient browsing experience.
Step-by-step Guide: Changing Image Thumbnail Size
Image thumbnails can be incredibly useful when browsing through a large collection of photos or images on your Windows 10 or 11 computer. However, the default thumbnail size may not always be ideal for your needs. In this step-by-step guide, we will explore two methods to change the image thumbnail size on your Windows computer.
Method 1: Using Windows File Explorer
- Locate the folder containing the images you want to adjust the thumbnail size for.
- Right-click on the folder and select “Properties” from the context menu.
- A new window will appear. Click on the “Customize” tab.
- Under the “Folder pictures” section, click on the “Choose File” button.
- Navigate to the image you want to use as the folder’s thumbnail and click on “Open”.
- Back in the “Properties” window, you will see a preview of the selected image. Use the slider under the preview to adjust the thumbnail size to your preference.
- Click on the “OK” button to save the changes.
Method 2: Using Third-party Software
If you prefer a more advanced approach with additional customization options, you can use third-party software such as File Explorer Extensions or SageThumbs to change the image thumbnail size.
File Explorer Extensions:
- Download and install File Explorer Extensions from a trusted source.
- Once installed, open File Explorer and navigate to the folder containing the images you want to adjust the thumbnail size for.
- Right-click on the folder and select “Resize Thumbnails” or a similar option from the context menu.
- A new window will appear, allowing you to specify the desired thumbnail size. Make your adjustments and click on “OK”.
SageThumbs:
- Download and install SageThumbs from a reputable website.
- After installation, open the folder where your images are located.
- Select the image file(s) you want to change the thumbnail size for.
- Right-click on the selected image(s) and choose “Properties” from the context menu.
- In the “Properties” window, you will find a “SageThumbs” tab. Click on it.
- Adjust the thumbnail size using the provided options or by entering specific dimensions.
- Click on the “Apply” button to save the changes.
By following these step-by-step guides, you can easily customize and change the image thumbnail size on your Windows 10 or 11 computer. Whether you prefer using the built-in features of Windows File Explorer or opt for third-party software, you have the flexibility to tailor the thumbnail size to suit your visual preferences.
Credit: av.tib.eu
Tips For Optimizing Image Thumbnails
When it comes to optimizing image thumbnails in Windows 10 and 11, there are a few key tips to keep in mind. By following these suggestions, you can ensure that your image thumbnails are the right size, have a small file size with optimal compression, and are of high quality. This will not only improve the visual appeal of your thumbnails but also enhance the overall user experience. Let’s take a closer look at these tips.
Choosing The Right Thumbnail Size
One of the first things to consider when optimizing image thumbnails is the right size. Choosing the appropriate thumbnail dimensions can make a significant difference in how they appear on different devices and platforms. Keep in mind that smaller thumbnails tend to load faster, but they may lose some detail. On the other hand, larger thumbnails may take longer to load but provide a more comprehensive view. Consider what works best for your content and audience.
Consider File Size And Compression
In addition to selecting the right thumbnail size, it’s essential to pay attention to the file size and compression. Thumbnails that are too large can slow down page loading times and affect user experience. To optimize file sizes, you can use image compression tools that reduce the file size without compromising too much on image quality. Strike a balance between file size and image quality to ensure that your thumbnails load quickly and look great.
Using High-quality Images
No matter the size or compression, using high-quality images for your thumbnails is crucial. Thumbnails act as a preview for your content, and having low-resolution or blurry thumbnails can negatively impact the user’s perception of your website or blog. Make sure to use sharp and clear images for your thumbnails, which will provide a better visual representation and encourage users to click and explore more.
Benefits Of Changing Image Thumbnail Size
Changing the size of image thumbnails in Windows 10 and 11 has several benefits. It allows for quicker loading times, improved organization and navigation, and a more visually appealing user experience. Whether you need larger thumbnails for better visibility or smaller ones to conserve space, adjusting the size can greatly enhance your overall interaction with image files on your computer.
Benefits of Changing Image Thumbnail Size Changing the image thumbnail size in Windows 10 and 11 comes with several notable benefits. These benefits include faster loading times, a consistent visual aesthetic, and improved file organization. By understanding these advantages, you can optimize your Windows experience and enhance your productivity.Faster Loading Times
One of the primary benefits of changing the image thumbnail size in Windows 10 and 11 is the improvement in loading times. When you decrease the size of image thumbnails, your operating system can render and display them more rapidly. This means that when you browse through your image folders or preview images, you won’t have to wait as long for the thumbnails to load. Smaller image thumbnails take up less processing power and require fewer system resources. As a result, the overall performance of your Windows operating system improves. This enhanced speed and efficiency make it easier and more convenient to navigate through your files and find the images you need without any frustrating delays.Consistent Visual Aesthetic
Another advantage of changing the image thumbnail size is the ability to maintain a consistent visual aesthetic throughout your image library. By setting a specific thumbnail size for all your images, you can ensure that they are displayed uniformly, regardless of their original dimensions. Having a consistent thumbnail size creates a visually pleasing browsing experience. It allows you to quickly scan through the thumbnails and identify the images you want without any distractions or variations in size. This cohesive and organized visual presentation enhances your overall user experience and makes it easier to locate specific images in your collection.Improved File Organization
Changing the image thumbnail size in Windows 10 and 11 also contributes to improved file organization. Small thumbnails enable you to view more images at a glance, which can be particularly helpful when you have a large number of images in a single folder. With smaller thumbnails, you won’t need to scroll as much, as more thumbnails can fit within the available space. Additionally, adjusting the thumbnail size allows you to optimize the layout of your image folders. By having a smaller thumbnail size, you can arrange your files in a grid-like structure, maximizing the space within the folder window. This structured layout promotes efficient file organization and enables you to quickly locate and manage your images. In conclusion, changing the image thumbnail size in Windows 10 and 11 offers significant benefits. By decreasing the thumbnail size, you can experience faster loading times, maintain a consistent visual aesthetic, and achieve improved file organization. Consider adjusting your thumbnail settings to optimize your Windows experience and enhance your productivity.
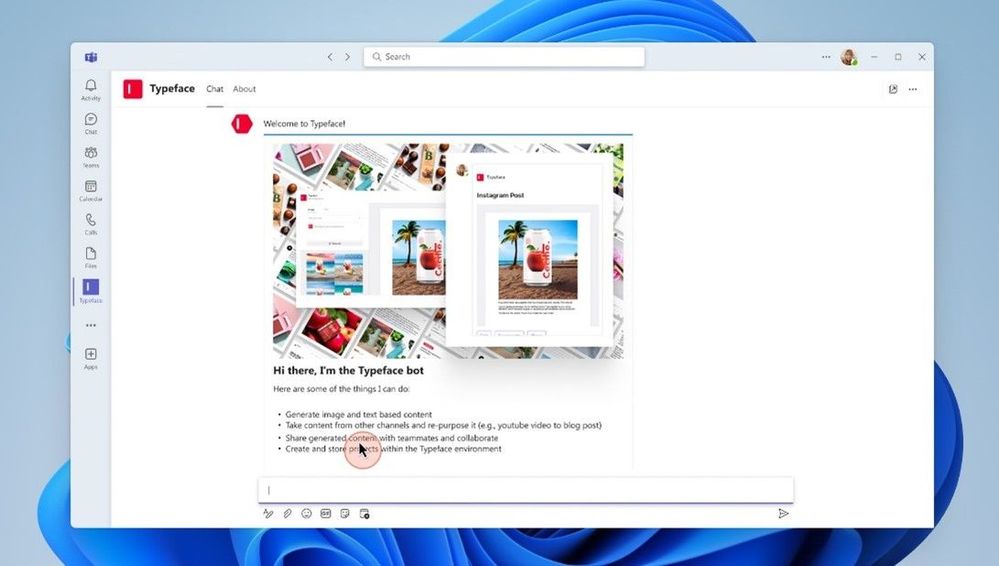
Credit: www.fotor.com
Frequently Asked Questions For Change Image Thumbnail Size In Windows 10 11
How Do I Change The Image Thumbnail Size In Windows 10/11?
To change the image thumbnail size in Windows 10/11, right-click on the desktop and select “Display settings. ” Scroll down and click on “Advanced display settings. ” Under the “Resolution” dropdown menu, select the desired thumbnail size. Click “Apply” to save the changes.
Can I Customize The Image Thumbnail Size In Windows 10/11?
Yes, you can customize the image thumbnail size in Windows 10/11. Right-click on the desktop and select “Display settings. ” Scroll down and click on “Advanced display settings. ” Under the “Resolution” dropdown menu, select “Customize. ” Enter the desired thumbnail size and click “Apply” to save the changes.
How Can I Make Image Thumbnails Larger In Windows 10/11?
To make image thumbnails larger in Windows 10/11, go to the “Display settings” (right-click on the desktop), and select “Advanced display settings. ” Under the “Resolution” dropdown menu, choose a lower resolution to magnify the thumbnails. Click “Apply” to confirm the changes and enjoy larger image thumbnails.
How Can I Make Image Thumbnails Smaller In Windows 10/11?
To make image thumbnails smaller in Windows 10/11, access the “Display settings” (right-click on the desktop), and choose “Advanced display settings. ” Under the “Resolution” dropdown menu, select a higher resolution to reduce the size of the thumbnails. Press “Apply” to save the changes and get smaller image thumbnails.
Conclusion
Changing the image thumbnail size in Windows 10 and 11 is a simple and effective way to enhance your browsing experience. By following the step-by-step guide outlined you can customize the thumbnail size to suit your preferences. With the ability to quickly scan through images and find what you’re looking for, this feature can save you time and streamline your workflow.
So why wait? Start optimizing your thumbnail sizes in Windows today!